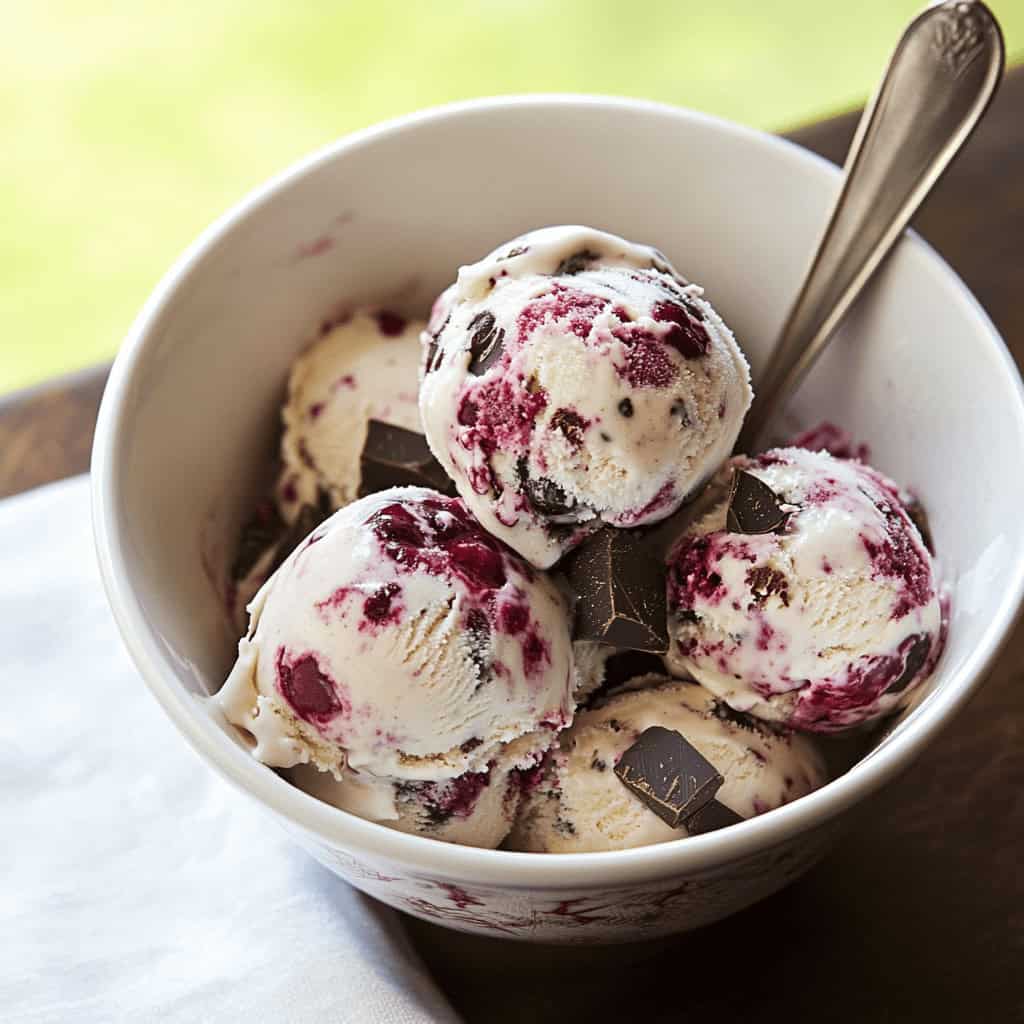
This Brandied Cherry and Chocolate Chunk Ice Cream is the ultimate indulgence, combining rich, decadent chocolate with the fruity sweetness of cherries and the warmth of brandy. Perfect for a summer day, elegant dinner parties, or any special occasion, this homemade ice cream is a guaranteed crowd-pleaser. With a creamy custard base, the boozy cherries and chunks of chocolate come together to create a delightful balance of flavors and textures that are simply irresistible.
Why You’ll Love This Recipe
- Sophisticated Flavors: The brandied cherries bring a luxurious and refined touch to this ice cream, making it an elegant dessert choice for any occasion.
- Rich and Creamy: Made with a custard base, this ice cream has an ultra-smooth texture that’s both indulgent and satisfying.
- Customizable: The recipe can be easily adapted to suit your tastes. You can swap out ingredients or adjust the sweetness to your liking.
- Impress Your Guests: Serve this unique homemade ice cream at dinner parties or family gatherings, and you’ll undoubtedly impress your guests with the complexity and richness of the flavors.
- Perfect Flavor Balance: The blend of sweet cherries, rich dark chocolate, and the warming hint of brandy creates a perfect harmony of flavors that complement the creamy base.
Ingredients
(Tip: You’ll find the full list of ingredients and measurements in the recipe card below.)
- Fresh or frozen cherries, pitted and halved
- Brandy (or non-alcoholic cherry juice if you prefer an alcohol-free version)
- Granulated sugar
- Heavy cream
- Whole milk
- Egg yolks
- Vanilla extract
- Dark chocolate chunks
Directions
Step 1: Prepare the Brandied Cherries
Start by preparing the brandied cherries, which will infuse the ice cream with both fruity sweetness and a slight warmth from the brandy. In a small saucepan, combine the cherries with the brandy and 2 tablespoons of sugar. Heat the mixture over medium heat and allow it to simmer for about 5–7 minutes. Stir occasionally to ensure the sugar dissolves and the cherries soften, while the liquid slightly reduces. Once done, remove the saucepan from heat and let the cherries cool completely.
Step 2: Make the Custard Base
The custard base is what makes this ice cream so creamy and rich. In a medium saucepan, combine the whole milk and heavy cream. Heat the mixture over medium heat, stirring occasionally, until it is steaming, but not boiling. Meanwhile, in a separate bowl, whisk together the egg yolks and the remaining sugar. Whisk until the mixture turns pale and thickens slightly.
Once the milk and cream are heated, slowly pour the hot milk mixture into the egg yolks, whisking constantly to avoid scrambling the eggs. After the egg yolks have been tempered, pour the entire mixture back into the saucepan and cook over low heat, stirring constantly. The mixture should thicken and coat the back of a spoon. Once the custard reaches the desired consistency, remove it from heat and stir in the vanilla extract for added flavor.
Step 3: Chill the Custard
To make sure your ice cream has the best texture, it’s important to chill the custard base. Transfer the custard to a bowl, and cover it with plastic wrap, pressing the wrap directly onto the surface of the custard to prevent a skin from forming. Let it chill in the refrigerator for at least 4 hours, or overnight for the best results.
Step 4: Churn the Ice Cream
Once the custard has fully chilled, it’s time to churn it into ice cream. Pour the chilled custard into your ice cream maker and churn according to the manufacturer’s instructions. The ice cream maker will work its magic to turn the custard into a creamy, frozen dessert.
During the last few minutes of churning, fold in the cooled brandied cherries along with their syrup. Add the chunks of dark chocolate at this stage as well, ensuring they are evenly distributed throughout the ice cream. This is when the magic happens—the combination of the cherries, chocolate, and creamy base creates a luxurious ice cream mixture.
Step 5: Freeze and Serve
Once the ice cream is churned, transfer it into an airtight container. For the best texture, allow the ice cream to firm up in the freezer for at least 2 hours before serving. This will help the flavors meld together and create the perfect consistency.
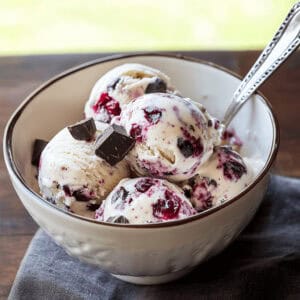
When you’re ready to serve, simply scoop out the ice cream and enjoy the rich combination of flavors. Whether you serve it in bowls, cones, or use it as a topping for a decadent dessert like brownies or waffles, this ice cream is sure to be a crowd favorite.
Servings and Timing
- Servings: Approximately 6–8 servings
- Prep Time: 20 minutes
- Cook Time: 10 minutes
- Chilling Time: 4–6 hours
- Total Time: Approximately 6.5 hours
Variations
- Alcohol-Free Option: For those who prefer a non-alcoholic treat, simply omit the brandy and replace it with cherry juice or a non-alcoholic cherry-flavored syrup. This substitution won’t compromise the flavor too much and will still give you that delicious cherry taste.
- Different Fruits: If you’re not a fan of cherries, feel free to swap them out with other fruits like raspberries, blackberries, or even strawberries. Each fruit brings its own unique flavor and can be a fun twist on this classic recipe.
- Milk Chocolate Option: If you prefer a sweeter, more creamy flavor, you can swap the dark chocolate for milk chocolate chunks. The milk chocolate will provide a smoother, sweeter finish to the ice cream.
- Vegan Version: For a dairy-free and vegan-friendly version of this ice cream, you can use coconut milk or a plant-based milk alternative in place of the dairy. Additionally, replace the heavy cream with a plant-based cream and use an egg substitute to keep the custard texture intact.
- Nutty Addition: Add some extra crunch by mixing in toasted almonds, pistachios, or even hazelnuts to complement the cherries and chocolate. Nuts add a savory element to the ice cream and pair beautifully with the fruity and chocolaty flavors.
Storage and Reheating
- Storage: Store any leftover ice cream in an airtight container in the freezer. It will stay fresh for up to 2 weeks. Make sure to press a piece of parchment paper onto the surface of the ice cream before sealing the container. This helps prevent ice crystals from forming on top of the ice cream.
- Freezing Tip: To ensure your ice cream maintains its creamy consistency, try not to over-churn it. Over-churning can result in ice crystals that will make the ice cream less smooth.
- Reheating: As with most ice creams, this dessert is meant to be served frozen. If the ice cream is too hard to scoop, allow it to soften slightly at room temperature for a few minutes before serving.
FAQs
- Can I use canned cherries? Yes, you can use canned cherries as a substitute for fresh cherries. Just be sure to drain and rinse them thoroughly to avoid any excess syrup.
- What type of chocolate works best for this recipe? For the best results, use dark chocolate with at least 60% cocoa content. This provides the perfect balance between bitterness and sweetness, which complements the cherries and creamy base.
- Can I make this ice cream without an ice cream maker? Yes! If you don’t have an ice cream maker, you can pour the chilled custard into a shallow dish and freeze it. Stir every 30 minutes to break up ice crystals until the ice cream is fully set.
- Is it safe to consume raw eggs in this recipe? The eggs in this recipe are cooked in the custard, so it’s completely safe to eat them.
- Can I reduce the sugar in the recipe? You can reduce the sugar, but be aware that this might affect the texture of the ice cream. Reducing sugar can make it harder for the ice cream to firm up.
- How do I prevent the ice cream from becoming too hard in the freezer? Adding a small amount of alcohol, like brandy, to the ice cream mixture will help keep it scoopable. Alcohol prevents the formation of large ice crystals, ensuring a smoother texture.
- Can I use milk chocolate instead of dark chocolate? Absolutely! Using milk chocolate will make the ice cream sweeter, which is perfect for those who prefer a milder chocolate flavor.
- How long should I churn the ice cream? Follow your ice cream maker’s instructions, but it typically takes about 20–25 minutes to achieve the desired consistency.
- What’s the best way to serve this ice cream? This ice cream is perfect in bowls or cones, or it can be used as a topping for cakes, brownies, or waffles.
- Can I double the recipe? Yes, you can double the recipe, but make sure your ice cream maker can accommodate a larger batch. If it can’t, consider making two smaller batches.
Conclusion
Brandied Cherry and Chocolate Chunk Ice Cream is the ultimate indulgence for anyone who loves a rich, creamy, and flavorful frozen treat. With the combination of fresh cherries, dark chocolate, and a custard base, this ice cream offers an elegant twist on traditional summer desserts. Whether you’re serving it at a special occasion or enjoying it on a quiet evening at home, this homemade ice cream will leave everyone craving more.
Brandied Cherry-and-Chocolate Chunk Ice Cream
Ingredients
- 2 cups fresh or frozen cherries, pitted and halved
- 1/4 cup brandy
- 2 tablespoons granulated sugar
- 2 cups heavy cream
- 1 cup whole milk
- 6 large egg yolks
- 1 teaspoon vanilla extract
- 3/4 cup dark chocolate chunks
Instructions
- In a small saucepan, combine cherries, brandy, and 2 tablespoons of sugar. Simmer for 5-7 minutes, until cherries are softened and liquid is reduced. Remove from heat and allow to cool.
- In a medium saucepan, heat cream and milk over medium heat until steaming but not boiling.
- Whisk egg yolks and sugar together until pale. Slowly add the hot milk mixture to the egg yolks, whisking constantly. Return to saucepan and cook over low heat until thickened.
- Stir in vanilla extract, then refrigerate custard for at least 4 hours.
- Churn the custard in an ice cream maker according to instructions. Add cherries and chocolate during the last few minutes of churning.
- Transfer to an airtight container and freeze for 2 hours to firm up.