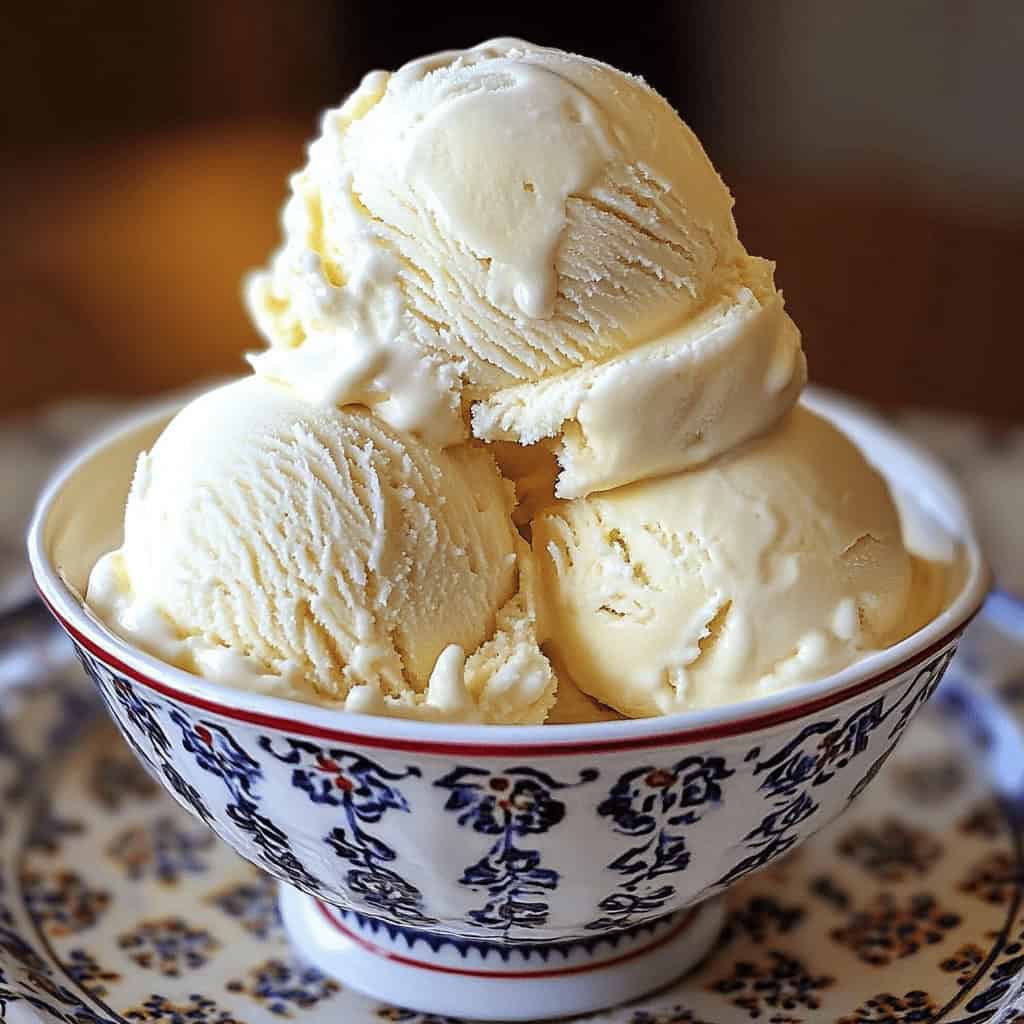
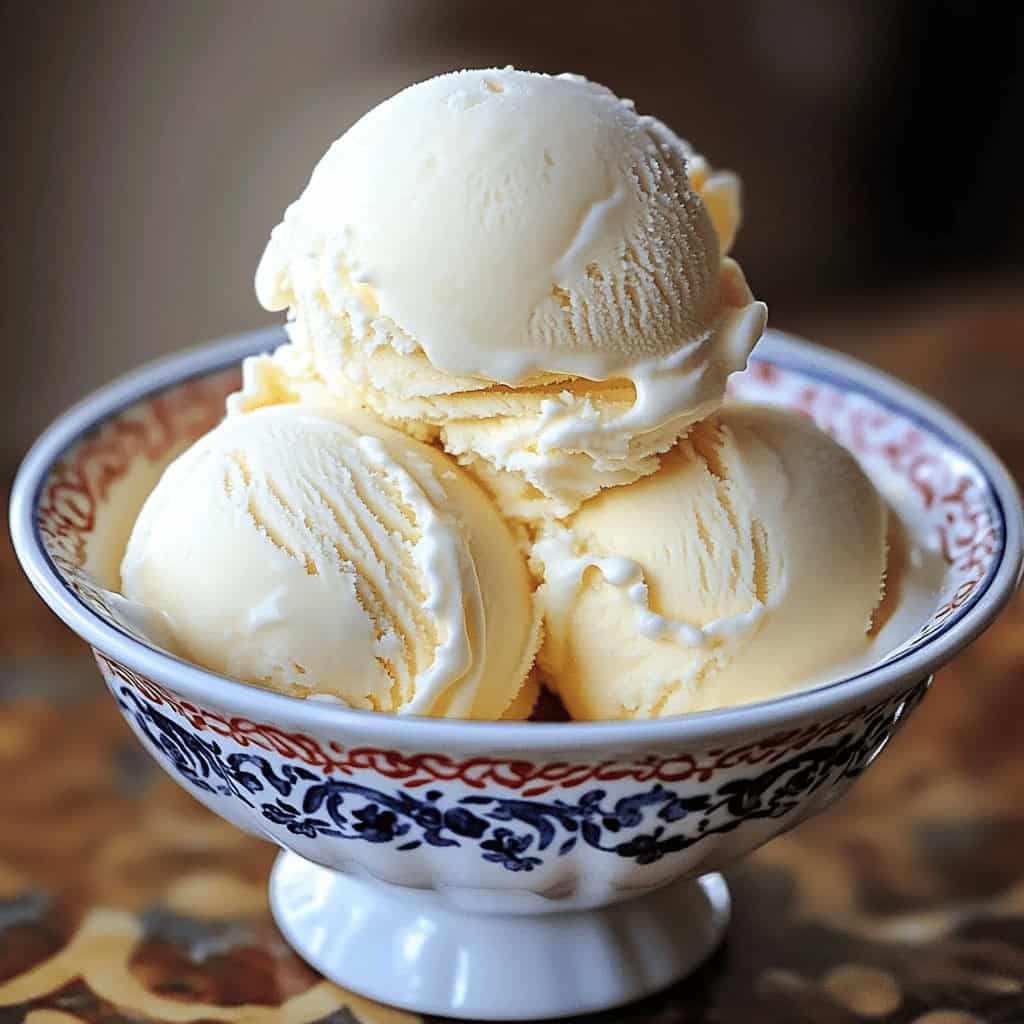
If you’ve ever craved creamy, dreamy ice cream but don’t own an ice cream machine, I’ve got great news for you. You can make absolutely delicious homemade ice cream with just a few simple ingredients and tools you already have in your kitchen. This easy no-machine ice cream recipe will quickly become your go-to treat, especially when you want to whip up something refreshing without the fuss. Plus, you can customize it endlessly with your favorite flavors and mix-ins. Ready to make the best homemade ice cream ever? Let’s dive right in!
Ingredients
- 2 cups heavy cream (for that rich, creamy texture)
- 1 cup whole milk (adds creaminess and smoothness)
- ¾ cup granulated sugar (sweetness balanced perfectly)
- 2 teaspoons pure vanilla extract (the star flavor here)
- Pinch of salt (enhances all the flavors)
Equipment You’ll Need
- A large mixing bowl
- Whisk or electric mixer
- Rubber spatula
- Shallow freezer-safe container (a loaf pan works wonderfully)
How to Make Homemade Ice Cream Without a Machine
Making homemade ice cream without a fancy machine might sound tricky, but it’s actually super simple and so rewarding. The secret lies in chilling and stirring the mixture regularly to keep it smooth and creamy.
1. Mix the Ice Cream Base
Start by whisking together the milk, sugar, and a pinch of salt in your large mixing bowl. Stir until the sugar is completely dissolved—that’s important because you don’t want any gritty texture. Then, gently fold in the heavy cream and vanilla extract. Your kitchen will start smelling amazing already!
2. Chill Thoroughly
Pop the mixture into the fridge for at least 1-2 hours, or overnight if you have the time. Starting with a cold base helps the ice cream freeze faster and more evenly, which is key for that perfect creamy texture.
3. Freeze and Stir Regularly
Pour the chilled mixture into your shallow freezer-safe container. The shallower the container, the more evenly your ice cream will freeze.
Place it in the freezer for about 45 minutes. When you check it, the edges will start to freeze—this is when the magic happens. Take your spatula or whisk and stir vigorously, breaking up those ice crystals. This step mimics the churning action of an ice cream machine.
Repeat this stirring every 30 minutes for the next 2 to 3 hours. Trust me, it’s worth it! This regular stirring incorporates air and keeps your ice cream smooth, avoiding that hard, icy texture you sometimes get with homemade ice cream.
4. Final Freeze
After about 3 hours, your ice cream will be thick and creamy. Give it one last good stir, smooth the top, then cover it with a lid or plastic wrap. Freeze for another 2 hours to let it firm up perfectly.
Customizing Your Homemade Ice Cream
One of my favorite parts of making homemade ice cream is the ability to get creative. Once you have the basic vanilla ice cream down, you can add all kinds of mix-ins and flavors.
- Chocolate Chip Delight: Toss in ½ cup of mini chocolate chips during the last few stirs.
- Fruity Swirl: Puree fresh strawberries, peaches, or mango and swirl it gently into the ice cream right before the final freeze.
- Cookie Dough Crumble: Fold in chunks of your favorite cookie dough for an indulgent surprise.
- Nutty Twist: Add toasted nuts like almonds or pecans for extra crunch and flavor.
Feel free to experiment and make this recipe your own! You’ll love how easy it is to adapt.
Tips and Tricks for Perfect No-Machine Ice Cream
- Always start with cold ingredients—this helps reduce ice crystal formation and speeds up freezing.
- Consistency is key: don’t skip those stirring sessions. It’s the secret to creamy, soft ice cream.
- Use a shallow container for even freezing—deep containers tend to freeze unevenly.
- If you want to make chocolate ice cream, simply whisk in ½ cup of cocoa powder or melted chocolate before chilling.
- For a vegan alternative, swap heavy cream and milk with full-fat coconut milk or cashew milk. These provide a creamy texture perfect for ice cream.
Serving Suggestions
Homemade ice cream is delightful on its own, but here are some ways to make your serving even more special:
- Let your ice cream sit at room temperature for 5–10 minutes before scooping. This makes scooping easier and the texture extra creamy.
- Warm your ice cream scoop in hot water to glide through the ice cream smoothly—no more struggling or messy scoops!
- Top with fresh berries, a drizzle of caramel or chocolate sauce, chopped nuts, or a dollop of whipped cream.
- Serve alongside warm brownies, pies, or a crisp waffle for a restaurant-worthy dessert experience.
Storing Your Homemade Ice Cream
To keep your ice cream tasting fresh and creamy:
- Store it in an airtight container to prevent freezer burn and ice crystal formation.
- Press a piece of plastic wrap or wax paper directly on the surface of the ice cream before sealing the container.
- Keep the ice cream in the back of your freezer where the temperature stays consistent.
- Homemade ice cream is best enjoyed within two weeks for optimal flavor and texture.
If your ice cream becomes too hard after storage, break it into chunks and quickly pulse it in a food processor to revive its creamy texture before serving.
FAQs About Homemade Ice Cream
Can I use low-fat milk instead of whole milk and heavy cream?
You can, but the texture will be less creamy and more icy since low-fat milk lacks the fat content needed for richness. For the best creamy results, stick to whole milk and heavy cream.
How can I prevent ice crystals from forming?
The key is frequent stirring during freezing and proper storage in an airtight container. This breaks up ice crystals and keeps your ice cream smooth.
Can I make vegan ice cream without a machine?
Yes! Use full-fat coconut milk, cashew milk, or almond milk. You can also blend in banana or avocado for creaminess.
How long does homemade ice cream last?
Try to enjoy your ice cream within two weeks for the best flavor and texture.
Making your own ice cream at home without a machine is not only doable—it’s downright fun! With just a little patience and simple ingredients, you’ll enjoy fresh, creamy ice cream tailored exactly to your taste. This recipe is perfect for warm days, casual family nights, or whenever the ice cream craving hits. Give it a try, get creative with your flavors, and enjoy the sweet rewards of homemade goodness!
Homemade Ice Cream (No Machine)
Ingredients
- 2 cups heavy cream
- 1 cup whole milk
- 3/4 cup granulated sugar
- 2 teaspoons pure vanilla extract
- 1 pinch salt
Instructions
- Whisk together the milk, sugar, and salt in a large bowl until the sugar dissolves. Stir in the heavy cream and vanilla extract.
- Chill the mixture in the refrigerator for at least 1-2 hours, or overnight for best results.
- Pour the chilled mixture into a shallow freezer-safe container. Freeze for 45 minutes.
- When edges begin to freeze, stir vigorously with a spatula or whisk to break up ice crystals. Return to freezer.
- Repeat stirring every 30 minutes for 2-3 hours until ice cream is creamy and thick.
- Give a final stir, smooth the top, cover, and freeze for 2 more hours until firm and scoopable.
- Serve as is or add your favorite mix-ins like chocolate chips, fruit swirls, or cookie dough during the last mixing stages.